Sometimes it isn’t having the right tools, but a logical mind working through the possibilities
Words and PHOTOS by Hutch and Chelley
I was once told during a lecture that the definition of engineering was that it is an intellectual process. The lecturer was not suggesting that all engineers are intellectuals, but rather that engineering is a thought process rather than the technique of the application of hammers or the production of drawings.
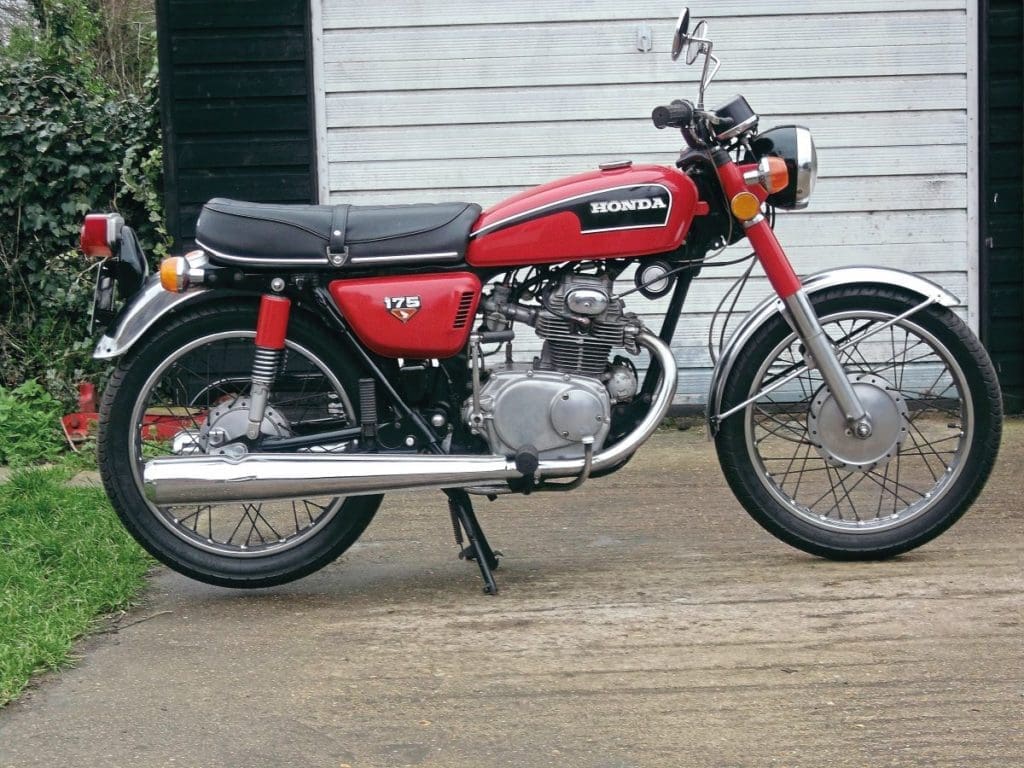
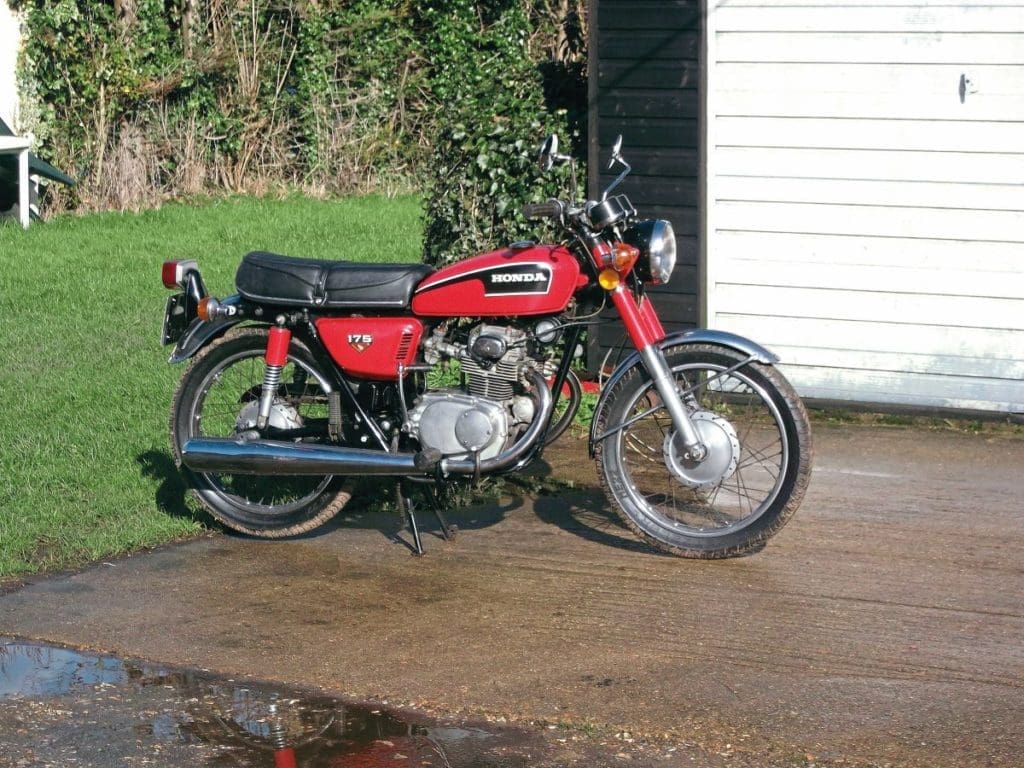
Meanwhile, a rather nice little Honda CB175 was delivered to me, not running. It had gone, coughed or popped, the owner had flattened the battery trying to re-start it, and had to be pushed home. Being the sports version of the utility Honda CD 175, the CB benefits – among other things – from twin carbs, 12-volt electrics and an electric start.
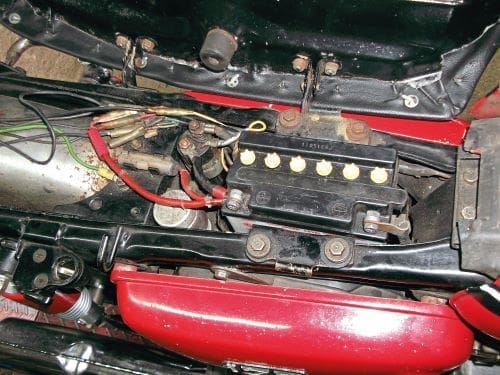

Simple things to check first. The battery was removed, charged and re-installed. The electrics and wiring looked mostly original and not too cut about, which is a bonus. The engine motored okay on the starter with the charged battery.
Next, the spark plugs were pulled and checked to see if the D8HA plugs fitted were the ones specified; the spec was D8HS. Although different, this shouldn’t be enough to stop it running, as it was running on these plugs prior to stopping.
A visual inspection of the spark plugs showed a slight richness but they were not terrible or fouled. A test for sparks revealed that there was a weak spark at both plugs (the bike uses a dual output coil; one coil, two HT leads) but it was all over the place/plug and not as bright as you would expect from a points ignition system.
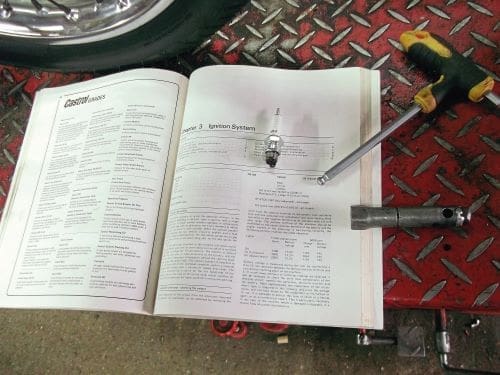
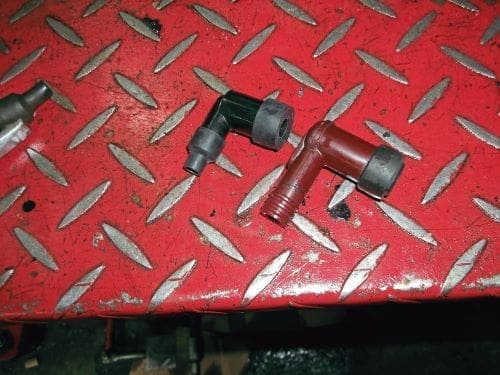
At this point I could have cleaned the plugs, but being aware of a modern plug’s love of ‘spiking’ on older motors, where the plug will spark on test but fail under the pressure of the combustion chamber, I decided to fit new ones. For some reason the exact spec plug seemed difficult to acquire but two new resistor plugs of the same spec were found. This led onto the fact that there would now be two resistances, the resistor plug and the 5K ohm plug caps which were fitted (the red ones).
New zero ohm (black) plug caps were fitted in place of the red ones and each HT lead cut back half an inch to clean copper wire. A test for sparks was repeated and although improved it still wasn’t the fat spark I’d expect. With reference to the manual, the points cover was removed and the points gap checked, but that was fine.
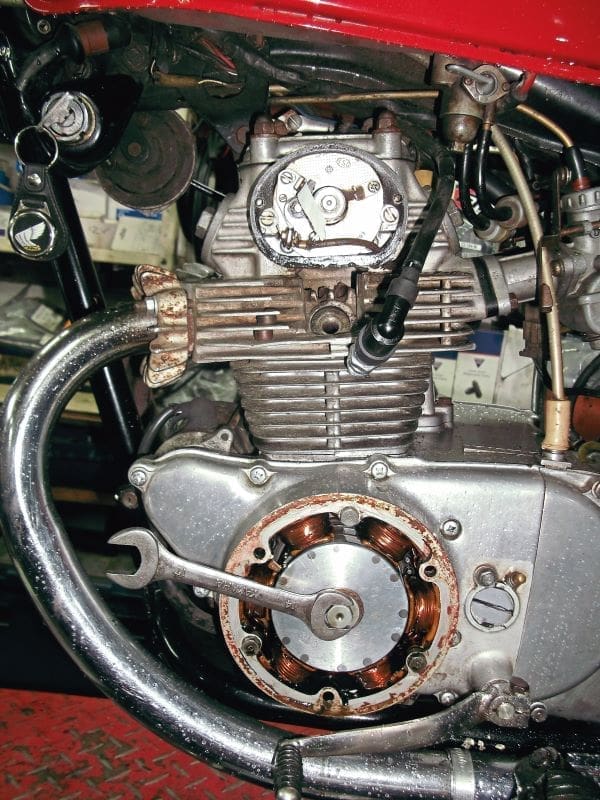
Then, when spinning the engine with the starter motor to check for sparks again, a big spark could now be seen at the points, which was leading me to suspect the condenser.
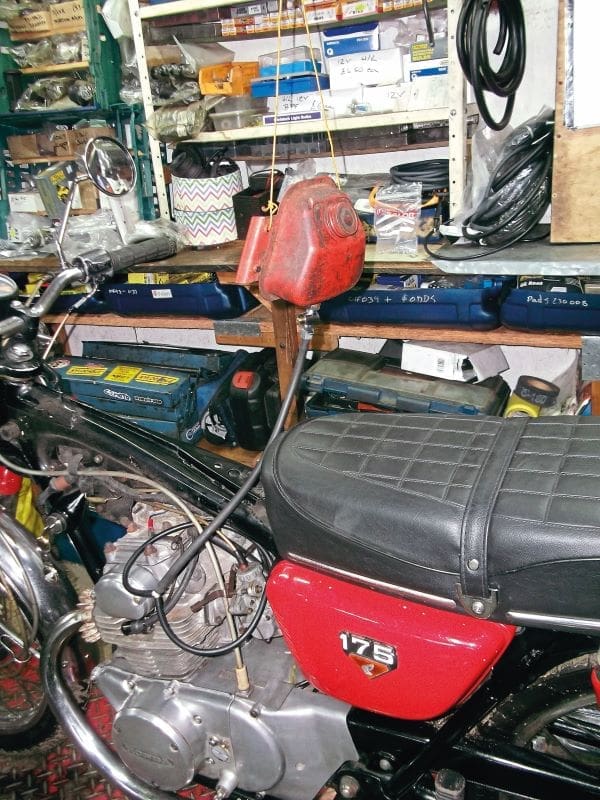
On the Honda, the condenser is located under the tank near the ignition coil. So first thing, remove tank. But on this model there is one petrol tap and a balance pipe to each carb, meaning the tank has to be drained before removal of the balance pipe; not one of Mr Honda’s finest engineering solutions!
Taking note of the brittle fuel hoses to be replaced before refitting the tank, it was seen that the fuel was not running freely out of the tap when draining. The inevitable spillage of petrol did allow for a technical ‘sniff test’ of the fuel, but it smelt okay and not off.
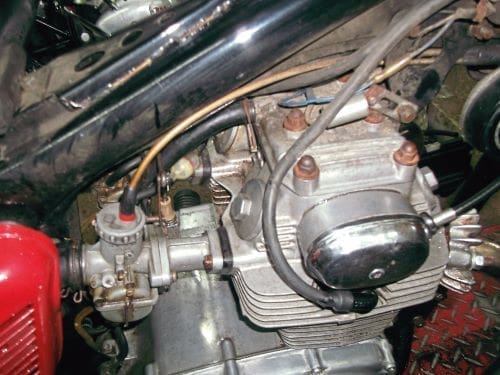
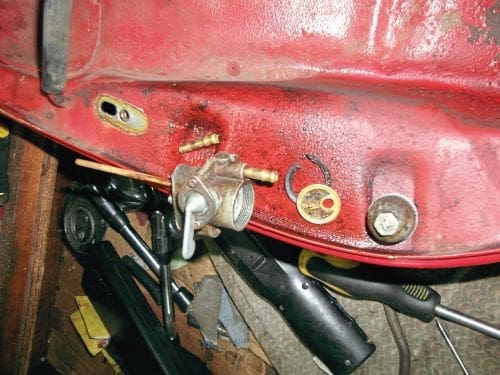
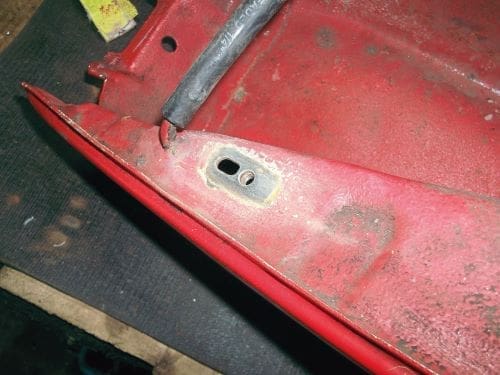
With the petrol tank drained and removed, one of the fuel pipe spigots in the tap was found to be loose and was only held in place by the rigid, brittle fuel pipes. No point in investigating the slow running of fuel through the tap, so a new one was ordered. It’s amazing how one job leads to another.
While waiting for the new fuel tap to arrive, the new condenser was fitted and fat sparks returned.
The carb float bowls were dropped with the carbs in situ. The main and pilot jets were removed and blown through with carb cleaner and the float bowls given a bit of a clean-out. With the bike fitted up with a dummy tank (as I didn’t want to fit and remove the tank and balance pipe more times than needed), the carbs were filled with fuel and straight away the right-hand carb flooded. Off with the right-hand float bowl, again, and the float needle jet was given a blow through with carb cleaner.
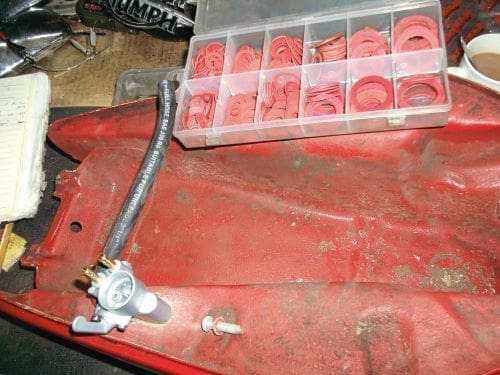
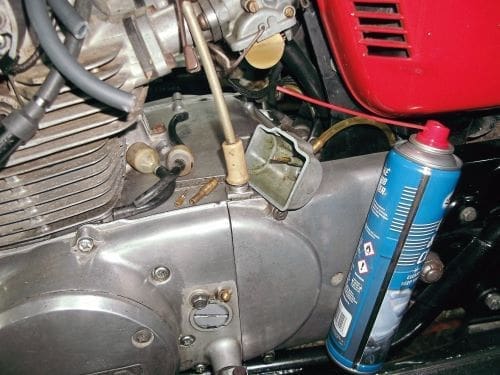
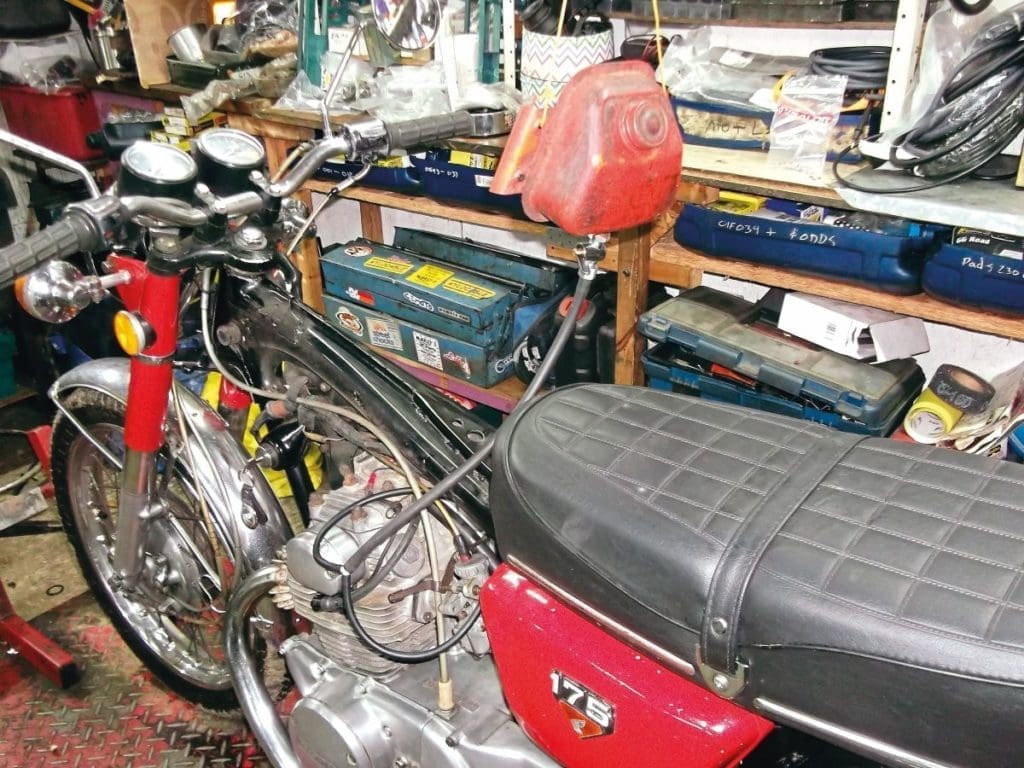
On the second attempt the carbs held fuel and the little Honda fired up on the button exactly like you’d expect a Honda to. We’re getting there. By this time the new fuel tap had arrived, which surprisingly wasn’t supplied with a new fitting screw and fibre washer, so after cleaning, the old screw was used with a new fibre washer from one of those selection boxes.
With the tank refitted, new fuel pipes installed and a bit of petrol added, the CB fired up again like nothing had ever been wrong.
So, no awkward techniques or special tools this month, but just the process of looking for the obvious, one step at a time, and fixing everything in front of you that you find isn’t right. An intellectual solution!
