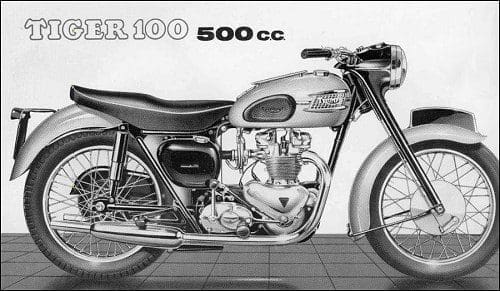
We’ve followed Dave’s rebuild from the day he brought home a box of bits, as he attempts to fulfil his dream of owning a top-notch Tiger. Next items on the agenda: paint, and brakes…
I had reached a point in the restoration when I really needed to think about getting some wheels. I had decided quite early on that I would invest in new rims and spokes; I had seen a few examples of secondhand rims and wasn’t very impressed. So after saving some of my annual bonus for just such a purchase, it was off to Hagons with my recently restored hubs. Two weeks later I returned and collected two shiny stainless steel wheels.
So now I had wheels and a couple of new Avons, that meant a rolling chassis was next on the agenda.
First job: pop the tyres onto the rims… or so I thought. Lots of swearing, puffing and panting, one new set of tyre levers and FIVE inner tubes later it was done. I had never realised what a knack there is to getting the tyres on the rims without puncturing the tubes. Still, we learn by our mistakes.
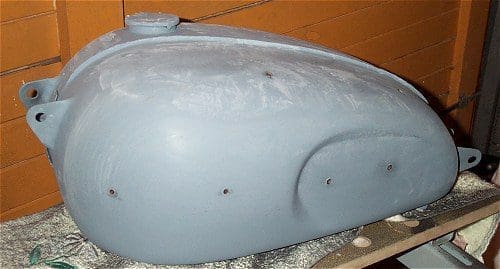
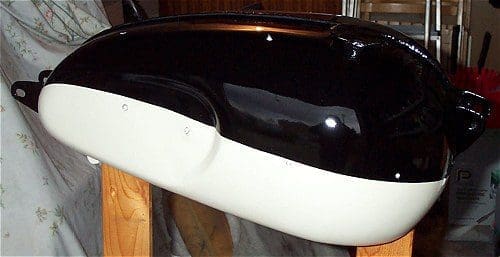
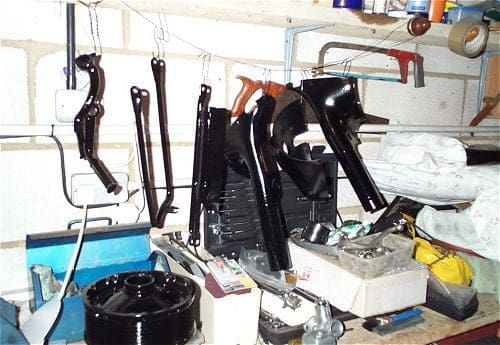
I built the forks and had the wheels on in a matter of no time and the Tiger really started to look good. I had already bought myself a small compressor and had sprayed all the tinware and the tank. This had taken quite a while, as I had not done any spraying with a gun since I was sixteen, and then it had only been the repaired forty-foot containers that go on the backs of lorries. So I took my time and was quite proud of the finished product, even though I did have to rub down and re-lacquer the nacelle three times before I was satisfied.
The next problem I faced was not scratching the paintwork during the build, and I have to confess that I had to touch in the frame and rear brake anchor plate with a tin of Hammerite.
The following weekend I had the engine in place. When I had first bought the project some work had already been done on the engine, and what I could see looked OK. I decided to take a chance and made the decision to not strip it but wait and see how it went once started. The new wiring loom followed and things really started to look good.
Next came the bars, levers and cables and, with them, another problem. Although I had fitted new shoes when I built the wheels, the front brake was non-existent. Now I had not built my hopes too high on the performance of a 7-inch single leading shoe drum, but I thought they would at least bite at a mere push. I had adjusted the cable at the lever to its maximum, but still nothing. I was beginning to think that the cable was too long — but then the penny finally dropped.
The lever on the drum was back to front.
I had it turned round in a couple of minutes, which effectively gives another half inch of distance from the cable, and hey presto: brakes that actually worked! (Well almost). Following a few small jobs to finish off the bars and nacelle top, the front end was about finished with only a speedo still to source.
|
Although I was keen to see if the engine would actually start I was deliberately reluctant to rush things and spent the next couple of weeks just generally fiddling with the small but essential jobs, like refitting the distributor, carburettor and oil pipes. I followed the static timing set up for Lucas Energy Transfer Ignition, as per the hand book and set the points and tappets. One of the rarer Items that I had got from the USA was an Energy Transfer Coil. The T100A had a Lucas 2ET coil with points and distributor, the coil I had got from the States, although listed as a 2ET, looked remarkably like a 3ET. These were used as dual coils on the later T100SC model and I wasn’t sure if it would work with a distributor. I had to make a bracket to make it fit under the seat, still it had two chances. A new set of HT leads followed and then I couldn’t put it off any longer. The fateful day came on Saturday 22nd May, one year and a couple of weeks since I had brought home the boxes of bits. I wheeled what now was looking quite like a motorcycle out of the garage and into the morning sunshine. I had got up early and scouted the local petrol stations for LRP fuel, and had engine and gearbox oil ready and waiting. I just had one small job to do before the start up, as the week before I had managed to demolish the kickstart return spring plate when fitting the outer gearbox cover. But not to worry, I had got another so I’d just pop it on quick, re-seal the gearbox cover and we would be off. |
Or so I thought.
Somehow, I managed to completely demolish the new plate again and was therefore furious. It seemed that the plate would jump off the shaft when I fitted the gearbox cover and then be bent beyond repair when I put my 13 stone bulk on the kickstart. No amount of hammering or re-bending would make either of the plates re-usable so it was to be yet another new one.
I wasn’t going to let this stop me now, I took out the return spring and put the gearbox cover on without it.
Would it start? After all the rebuilding and sourcing parts and hard work? Find out next time…
What do you reckon?
