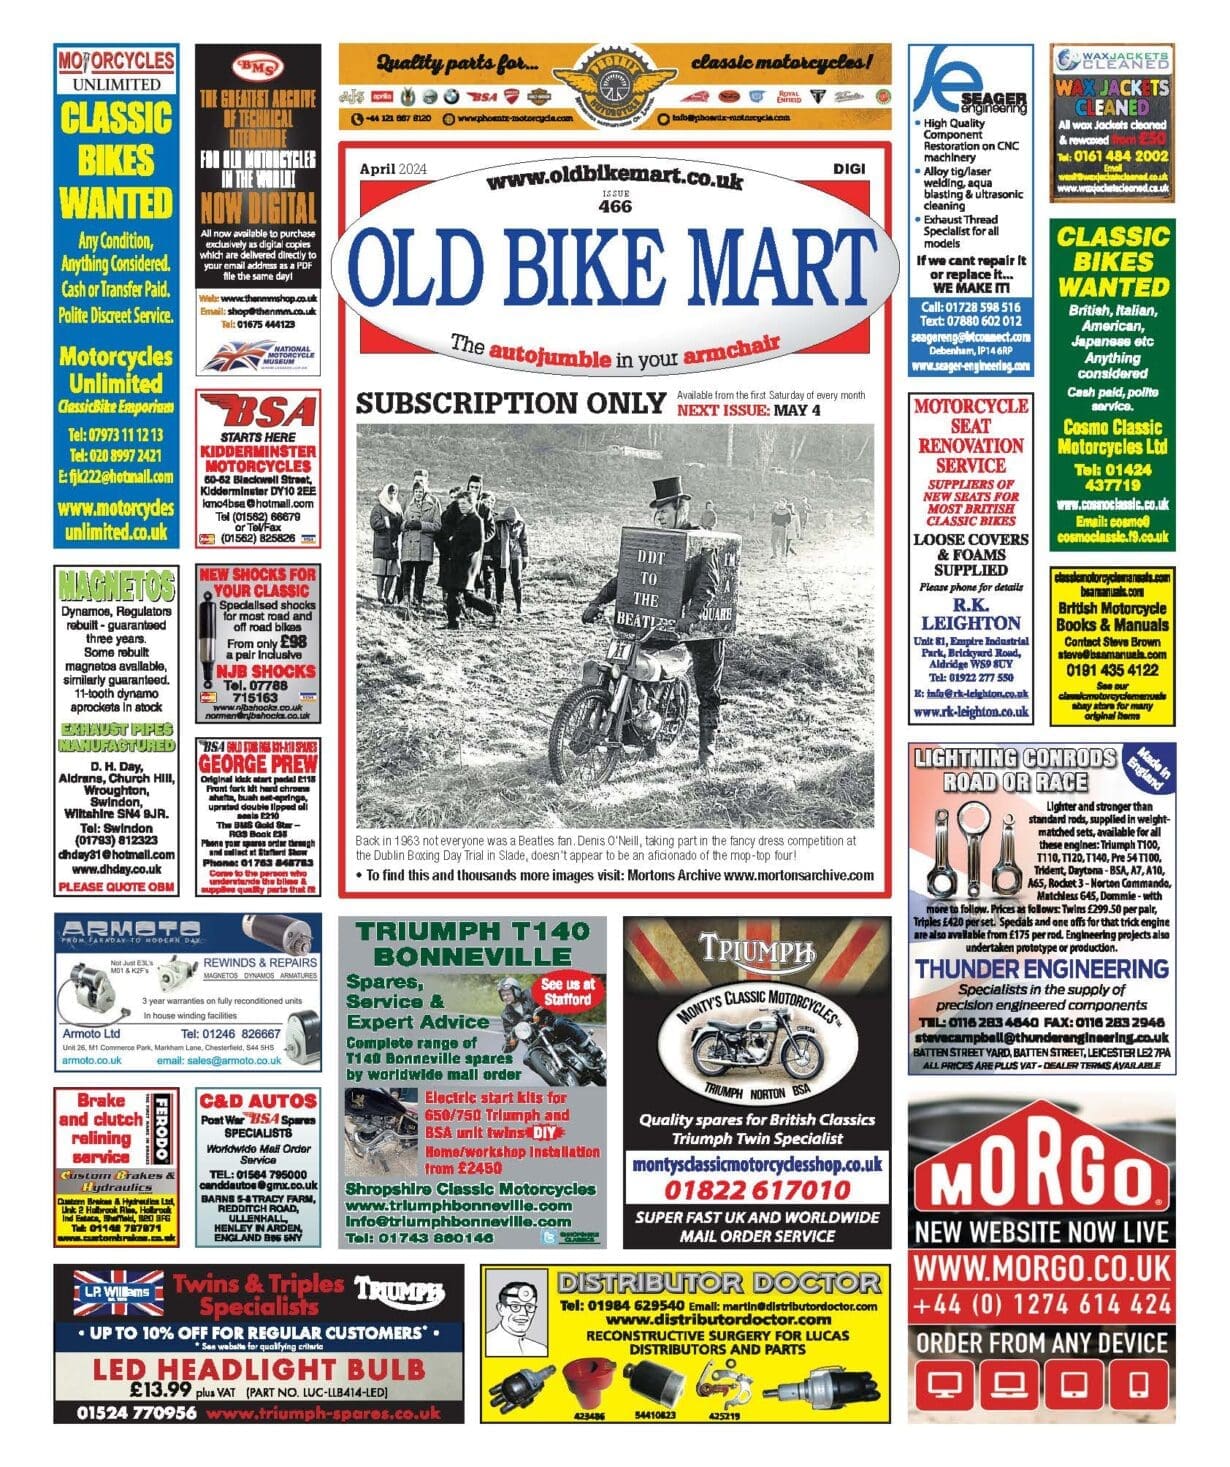
Lots of bits have come back, ready for assembly on Phil Speakman’s MZ rebuild. So he ventures into the Devil’s Kitchen and proves that you should never leave a man alone with a tube of strong adhesive…
The first parts to return to me were the lovely gloss black powder coated frame components and to borrow a phrase from the BBC’s John Simpson, I counted them all out and counted them all back in again. But where to put the bicycle parts so that I can start to reassemble them again?
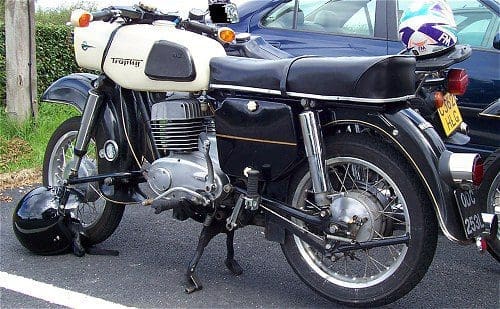
The Adler is in lots of carefully wrapped shiny bits in the back bedroom, which it shares with the new bathroom suite, to be fitted in May or June…
The ISDT MZ 250 is already in the kitchen…
I’m falling over an MZ ES150 in the living room…
Oh, and if you hadn’t already surmised; the garage is full too and that also includes the hydraulic lift that I originally stripped the bike down on. This would take some thinking about, I could see that.
I carefully placed all the bits in the corner of the living room and let the problem be. The answer always presents itself eventually I find.
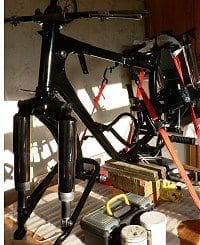 Once Christmas was over and done with, the pile of bits had grown considerably to include a set of alloy rimmed wheels laced with stainless spokes, guaranteed to stop the heart of even the most hardened of restorers with their beauty.
The chrome and alloy work was all carefully bubble wrapped and packed in boxes and I’d even sent off for a new VIN plate stamped with the same information as mine, but shiny and new, not corroded and barely legible like the old one. I’d had to remove it from its home on the front fork carrier anyway to enable it to be coated (it came off in my hand with the slightest of tugs, the rivets were so rotten), so why not replace it?
But where was I going to work?
Little Devil on left shoulder: ‘That kitchen table looks solid’
Little Angel on right shoulder: ‘Don’t listen to him Phillip, what if you have visitors?’
Little Devil: ‘It’s about the same height as the bike lift and you are completely ripping the kitchen out in the autumn anyway, so what’s the problem?’
Little Angel: ‘That’s just silly Phillip, what if you meet a nice girl, what will she think?’
Little Devil: ‘Phil, be honest who the hell wants to meet a ‘nice’ girl, eh? Besides, those ratchet straps you bought for picking up the Adler Favorit would hold it rock solid whilst you got it all back together again. It’s warm, near the kettle and you can listen to Radio 4 or watch endless re-runs of Top Gear or Dibnah’s Age of Steam on cable TV whilst you potter about with it.’
Little Angel: ‘I’m warning you Phillip, respectable people don’t have motorcycles on their kitchen tables, it just isn’t right and proper. Now why don’t we get all those nasty bike bits in the shed and we can have a really good tidy up before New Year?’
Little Devil: ‘Isn’t there a bottle of 3 Monts in the fridge to enjoy afterwards, whilst you admire your evening’s work ?’
‘Oi Gabriel, shut up and sling your bloody hook you frock wearing harp plucker, I’ve got work to do. Now, where did I put those ratchet straps?’
So now, not only do I have a bike in the kitchen, I also have an ES250 Trophy gradually building up, piece by piece on my kitchen table. I like to consider it as some sort of three dimensional jigsaw puzzle that I find myself staring at for hours on end in the evenings. Sometimes I get a lot done, other times I just trial fit a few bolts and maybe nip out to the garage to face off the heads of a few new stainless bolts on the lathe, then recess the bolt head slightly to look almost identical to the original MZ bolts. I believe they were originally cadmium plated and had a pinkish tint, but I can more than live with these stainless replacements.
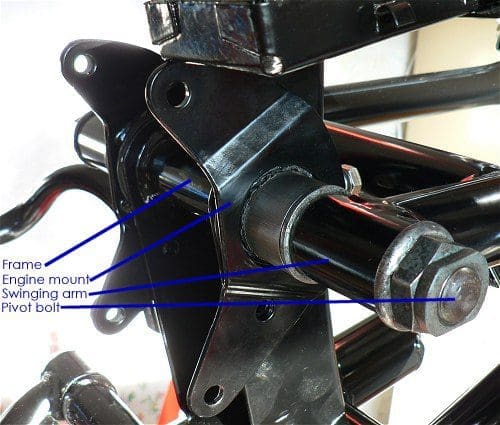
I mentioned in a previous installment that the rear suspension arm linkage on this MZ model really is a wonderful piece of design economy, so I’ll explain why. The pivot bolt not only bears the swing arm, but the frame tube it fits into also acts as a concentric pivot for the rear engine mounting points, insulated from the frame tube by two top hat rubber bushes. These mounting points allow the engine to move within the frame, supported at the front by two rubber AV blocks and a frame mounted robber stop. This whole multi functional design is all held together by just the swing arm nuts, yet it completely insulates the bike frame from the 250cc power unit giving it a lovely smooth and vibration free ride. Just what you need for long distance touring on the continent…?
 |
Random MZ Stuff on eBay.co.uk |
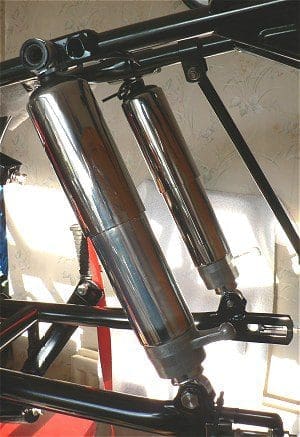
I’ve since got most of the frame and suspension components back together and even solved a few problems too. I invariably make one blunder on a bike rebuild, it’s inevitable really. The one that worried me this time was that I had pressed out the rubber AV bushes in the rear silencer support arm, destroying them in the process, just so that I could get the arm powder coated. Unfortunately the replacement AV bushes aren’t available anywhere. Fred Rogers of Winsford tried to buy some recently, but when the parts arrived they were nothing like the components that they should look like, but I took half a dozen just in case. I managed to turn them down to the correct size on my lathe by mounting them on a bolt, between two washers and secured with a nut. Two for the top mount and the same for the lower mounting point and Robert’s your aunties husband. Not in the same league as Humbernut; I admit, but they certainly do the job.
The new VIN plate came with a nice set of rivets that looked identical to the originals, so obviously I wanted to use them instead of bog standard pop rivets, but the holes were slightly too large for them since I had to drill the remains of the old ones out. Adhesive seemed to be the obvious solution to this problem. I super glued the rivets into the holes of the plate but when I looked around for my trusty tin of contact adhesive which I knew would give the plate a secure bond and me an instant high, it was nowhere to be found. However a tube of ‘No More Nails’ did surface during the search, and not being a normal sort of bloke I actually decided to read the instructions!
From what I read on the back of the tube; it looked just the job and two minutes later the plate was in situ with a rolled up yellow duster and a cable tie keeping pressure on it overnight to allow it to set securely in place.
The next morning I removed the cable tie and the duster, to reveal a rock solid plate, but now with a furry yellow decorative fringe that I didn’t remember it having the day before. Very 1970’s custom car interior, but not quite the look I was hoping for somehow. The overspill had gradually seeped out overnight and made friends with the yellow duster, but how was I to remove it? I certainly wasn’t going to start scraping at the glue using a screwdriver blade, not on my newly powder coated fork carrier, so it took me a painful half an hour and two thumbnails later to clean it all off, which I presume is why the glue is called ‘No More Nails‘?!
Once the tinware comes back from the painters, the reassembly can continue apace…


