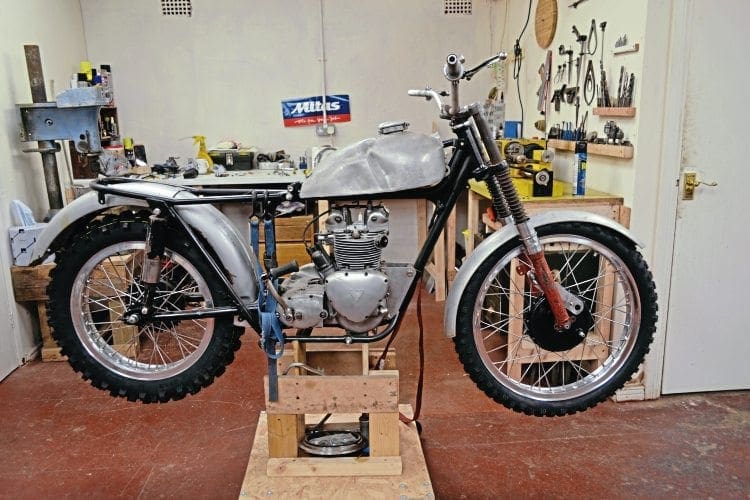
In the quest to assemble the big bits as quickly as possible, the details often have to wait.
Words and photographs: Tim Britton
I doubt anyone who has assembled a motorcycle of any sort will be surprised to hear it’s not the big bits which take the time, but the smaller details.
What I’m talking about here is the ancillary components – oil pump, oil lines and the myriad tiny fasteners which are never there when a pile of bits is forced into a complete or almost complete motorcycle.
There are other issues to attend to at the moment as well, but as I now have two wheels with tyres on and potentially the possibility for the project to stand on its own wheels rather than the four castors on a rolling cart, then it is time to attend to the bits which I’ve put off doing.

Fastener threads and their functions have been a recurring theme in this build, because the number of bits being used don’t all originate from the same year, or even the same manufacturer.
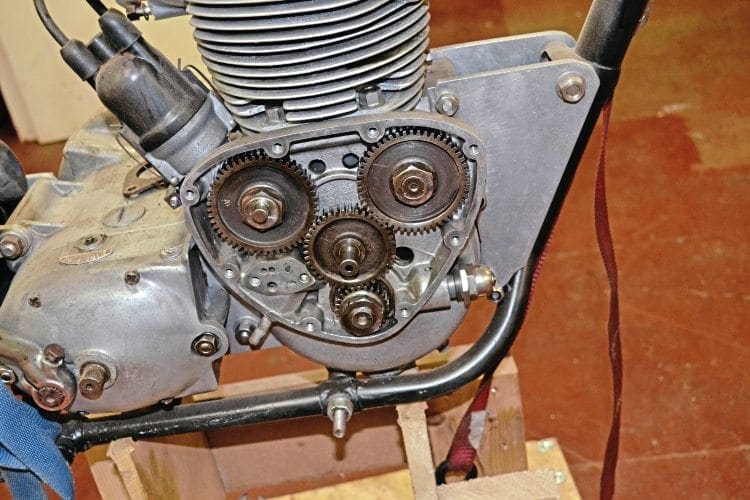
Helpfully, Triumph lists fastener lengths in their parts books and a random glance through my copy of ‘Triumph Replacement Parts Catalogue No. 3 for Twenty-One, Speed Twin, Tiger 100’ brings up a nice line drawing, on p16, of the engine cases, plus a list on p17 of the parts.
From this, I learn E3800 is a screw 7/8in UH and I need four and T1399 is a stud 31/16in OA and I need two.
What it doesn’t tell me is the thread form used on the screw or stud, nor their diameter.
The latter is easy to determine, the former, not so easy, thanks to the change of thread forms embraced over a period of years by the British industry.

It isn’t just a matter of looking at the engine number and saying: “Before that number it was CEI form and after it was UNF.” If this project has shown me anything, it is things were not clear cut, so this is why I’m messing about with old fasteners before ordering new ones.
For the studs this is less of a problem as they are not expected to screw into anything other than an appropriate nut, being as how they go through the engine and either feed through the frame or engine plates.
The lengths quoted in the manual for studs will be a guide only, as the original engine plates would be 1/8 or 3/16in steel pressings, but I’ve cut mine from 1/4in high tensile aluminium plate.

This means I’ll need longer studs and I’m also using metric fasteners wherever possible rather than the 5/16in or 3/8in imperial stud diameters.
Again, this isn’t really a problem, as metric round bar for making studs is freely available and the grade needed is common.
Read more and view more images in the October 2019 issue of TCM – on sale now!


