Stu Thomson is refurbishing an unusual single-cylinder Italian sportbike. This time, finishing touches… and will it run?
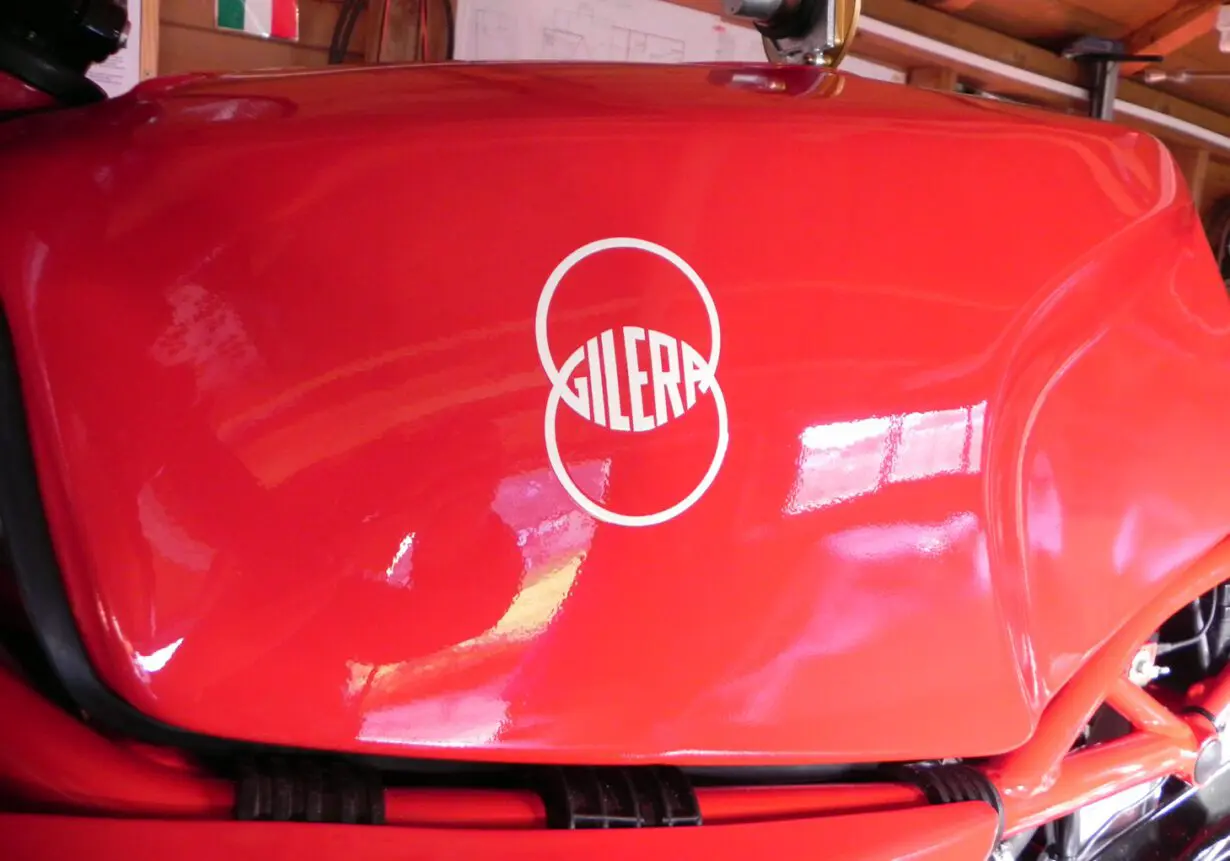
The powdercoat was rubbed down with 600 grade then given three coats of 2k carmine red 2k. I rubbed down the tank again with 600 grade and then applied three more coatings, and left the paint to fully set which can take a week in cold weather. Then I rubbed the tank down again with 1200 grade paper, and applied the transfers to the matt surface at the locations measured earlier. Applying the transfers was relatively easy as each side has different transfers so no matching required.
The tank was then lacquered with a 2k clear anti-scratch coat. This involves a gradual build-up of light coats with 15 minutes between each coat. The final coats have 15% thinners added. After this, a show finish can be achieved by cutting back with 2500/3000 wet and dry paper, and then finished with fine, anti-swirl compound. The final finish then looks like glass and, to my eye, looks a bit false as the manufacturers never reached this quality in production.
The filler cap for the tank was a little corroded and the rubber hard, but I found that the lockable cap for a Ducati Monster fitted perfectly.
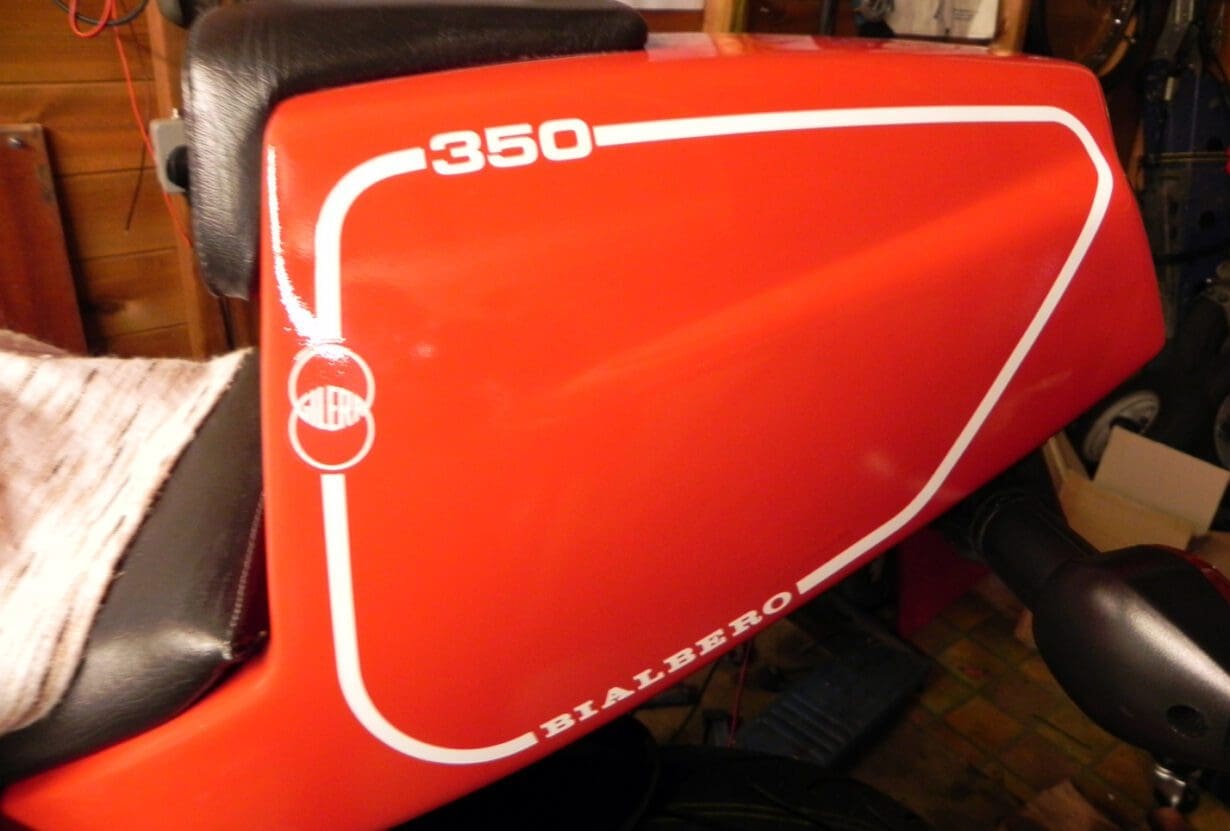
The seat tail unit is an odd construction; two plastic mouldings stitched together down the centre with alloy plates riveted to the plastic mouldings. The mounting areas are susceptible to breakage and one area needed repair. The seat bolts to this unit and then the seat becomes the mounting for the front of the tail unit, a similar design to the Honda VFR400s and small CBRs.
I decided to strengthen weak areas with brass sheet, bonded into position with epoxy resin. This could also be done with Kevlar matting. The bike was delivered with very small indicators so their holes were filled with machined alloy inserts and the epoxy glue. The surface was then cut back, coated with etch primer, then grey primer – several coats – cut back again and coated with several coats of 2k red before matting prior to transfer attachment. The main logos for the bike were located on the tail piece and are interesting to fit, needing much care, attention, patience and planning. The transfers were separated and cut to match the profile of the seat base, then lacquered.
The fairing is fibreglass matt construction, generally in excellent condition with only one small battle scar and a couple of stress cracks which I repaired with epoxy. The fairing paint (which was very thin) was rubbed back and etch-primed to ensure a good bond. This was followed by three coats of grey primer, rubbed down with 600 grade and finished with carmine red 2k. While working on the fairing I used two tie bars to replicate the frame mounting points to ensure it was stable, and so I had something to hang the fairing from. The fairing wasn’t lacquered as there are no transfers so I left it painted. That means it can be touched up if damaged by stone chips or similar in future.
The mirrors were missing but are the same as those on a Moto Guzzi Le Mans from the same era. €50 each, though! I found a 30 year old Moto Fizz Japanese tank pad which suits the bike and time period.
The screen was cut back to remove scratches and a rubber edging strip applied. The same edging was also applied to the petrol tank. New rubber mounting bushes were made for the tank from a jeweller’s dapping block rubber, cut to size with a punch on my press and then machined to size on the lathe with a very, very sharp tool. Hard rubber can be machined if run at speed with small cuts.
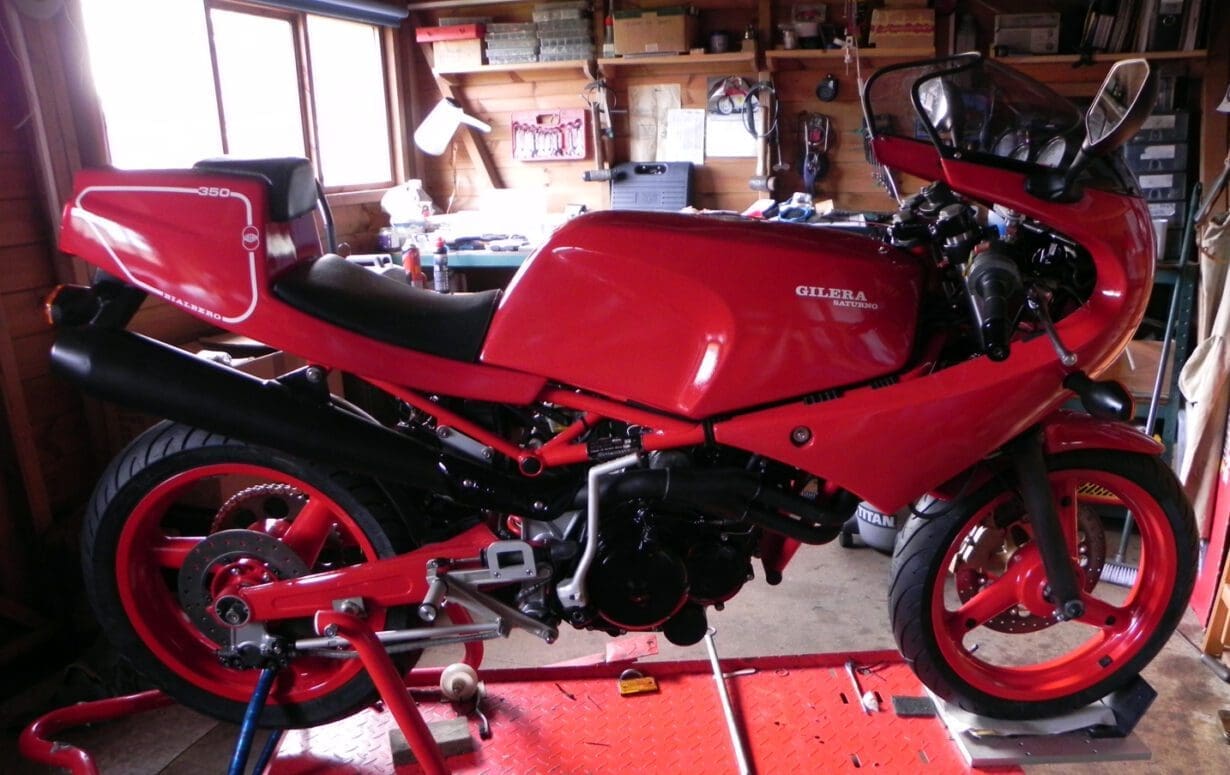
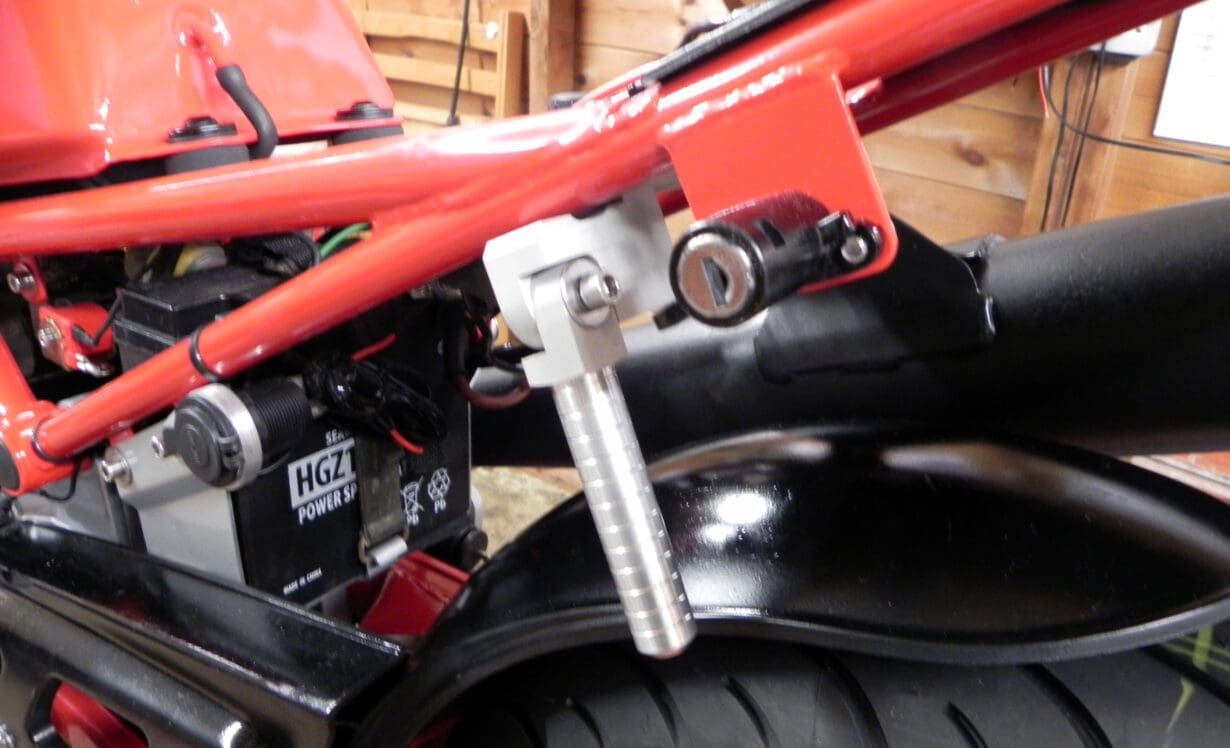
I added a few features which I have found useful on other bikes. The first was a lifting handle as there’s nothing to get hold of when manhandling the bike around and the tail section is particularly weak, held on only by two rubber mounted M8 wing screws. The other was a waterproof marine socket power point which could also be used as a charging point. The petrol tank has to be removed to check plug gaps and so on, so I added quick-release couplings to the fuel lines.
Before the bike left the bench I tested lights, horn, stop lights and started the engine. Everything worked with alternator output at 14.4V, and the engine settled into a nice 1300rpm tickover. Once warm, revving it to 5000rpm showed it to be a very smooth unit with good response. It was very quiet with virtually no engine noise other than a low rustling of the valves and some induction roar (because the original airbox has been replaced with a K&N filter.) I can see why the engine is well respected.
I also checked the thermostat, cooling fan, radiator and other functions. The radiator had a small leak so I dispatched it to Northern Radiators in Leeds, working on the assumption that if there was one leak then there may be more. They advised that the radiator needed re-coring due to extreme corrosion; an eye-watering £350! The joy of owning a limited-production run machine where parts are not available. In the end they had to completely rebuild the radiator – the only part re-used was the radiator cap! So it was basically a brand new radiator but they kept their original quote. Top company, a two-year guarantee and a pleasure to deal with.
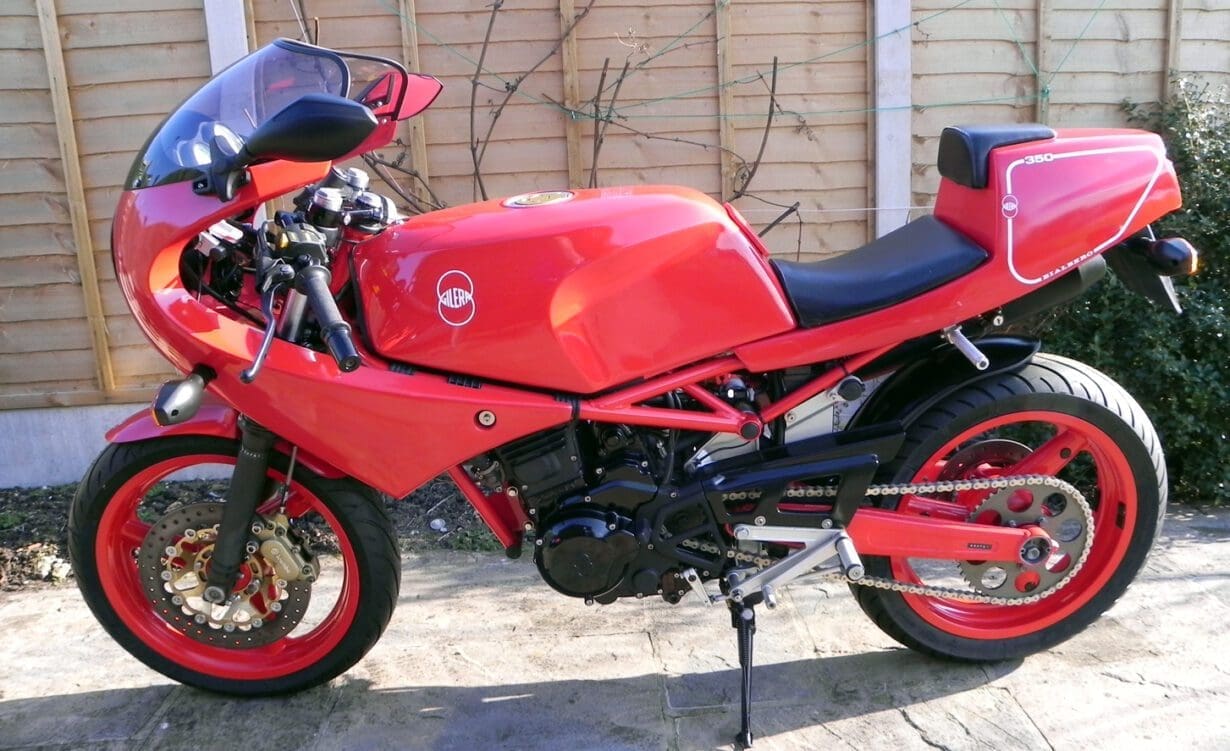
The bike passed its MoT easily with just a comment about the chainguard being very short. It then needed to be registered – as it’s an import from Japan. I got a dating certificate from the IMOC GB, even though it didn’t need one in theory. With the DVLA you can’t have too much paperwork, and they tend not to accept foreign documents without UK club verification! The advantage of the 350 capacity is that road tax is a meagre £44 a year – and the insurance is cheap as well. Six weeks later I got the V5C and it was registered: full marks to the DVLA during a pandemic and they even sent all my documents back including the Japanese paperwork.
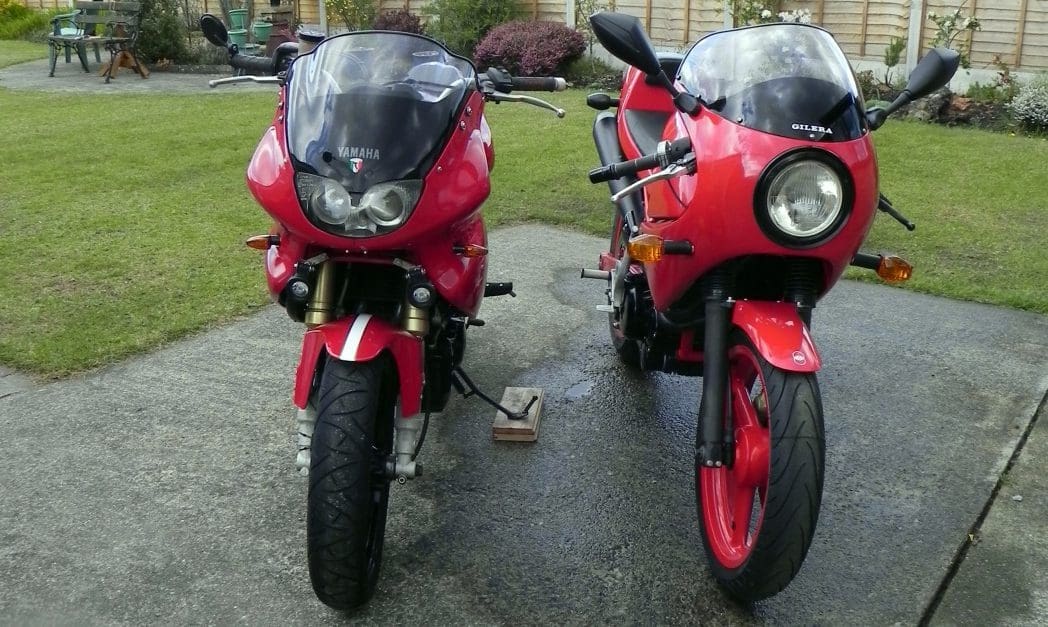
What did it cost? The bike itself was £2995 including delivery. I spent in the region of £2000 in parts, paint, bearings and tyres completing the majority of the work myself. In total that’s approximately what they were sold for new back in 1988. A similar rebuild for the SZR Yamaha cost £1300 for parts on top of an initial purchase price of £850. Both machines were designed and built by Italians but the Gilera was considerably more expensive: £4999 in the late 1980s. The Yamaha was nearer £4000 some years 12 years later. The Gilera is much simpler, and 30kg lighter!
So what’s the Saturno like to ride?
You’ll have to look in the February 2022 issue of the magazine to find out…
———-
Words and photos by Stu Thomson


